Keys for a Time Machine?
Building a Time Machine (TARDIS) Lending Library and installing a lock and key? Why not!

Hi. Michael here, owner and operator of All About Locks & Safes, a local locksmith company here in Chico CA.
First off, I know this post is a little out of the ordinary for my lock shop, but it was a fun project, so I wanted to share. Towards the end, there is some “Lock stuff” so skip to the end if you want, but you might miss some fun stuff!
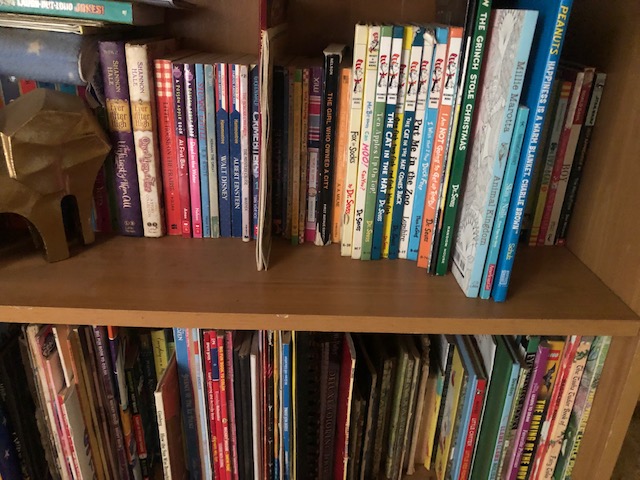
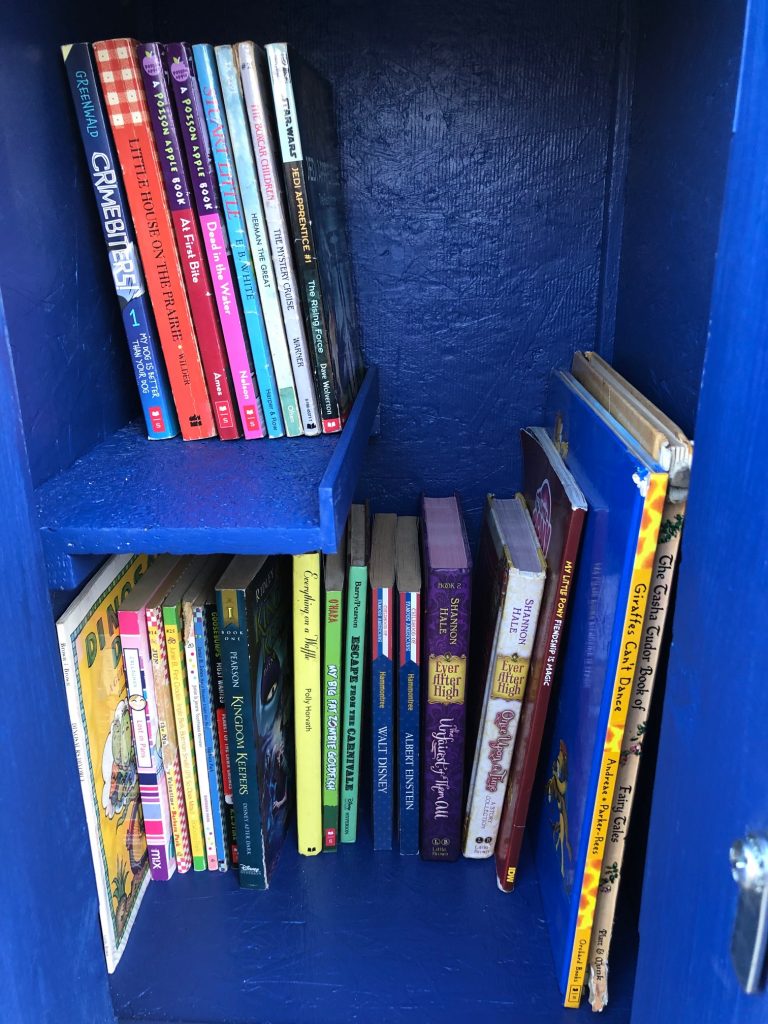
This all started when I was looking at my kids old book shelf filled with books that are now below their reading level and I was wondering what to do with them. After some thought I decide to build a Lending Library out of some scrap wood I had giving the neighborhood a chance to read the books.
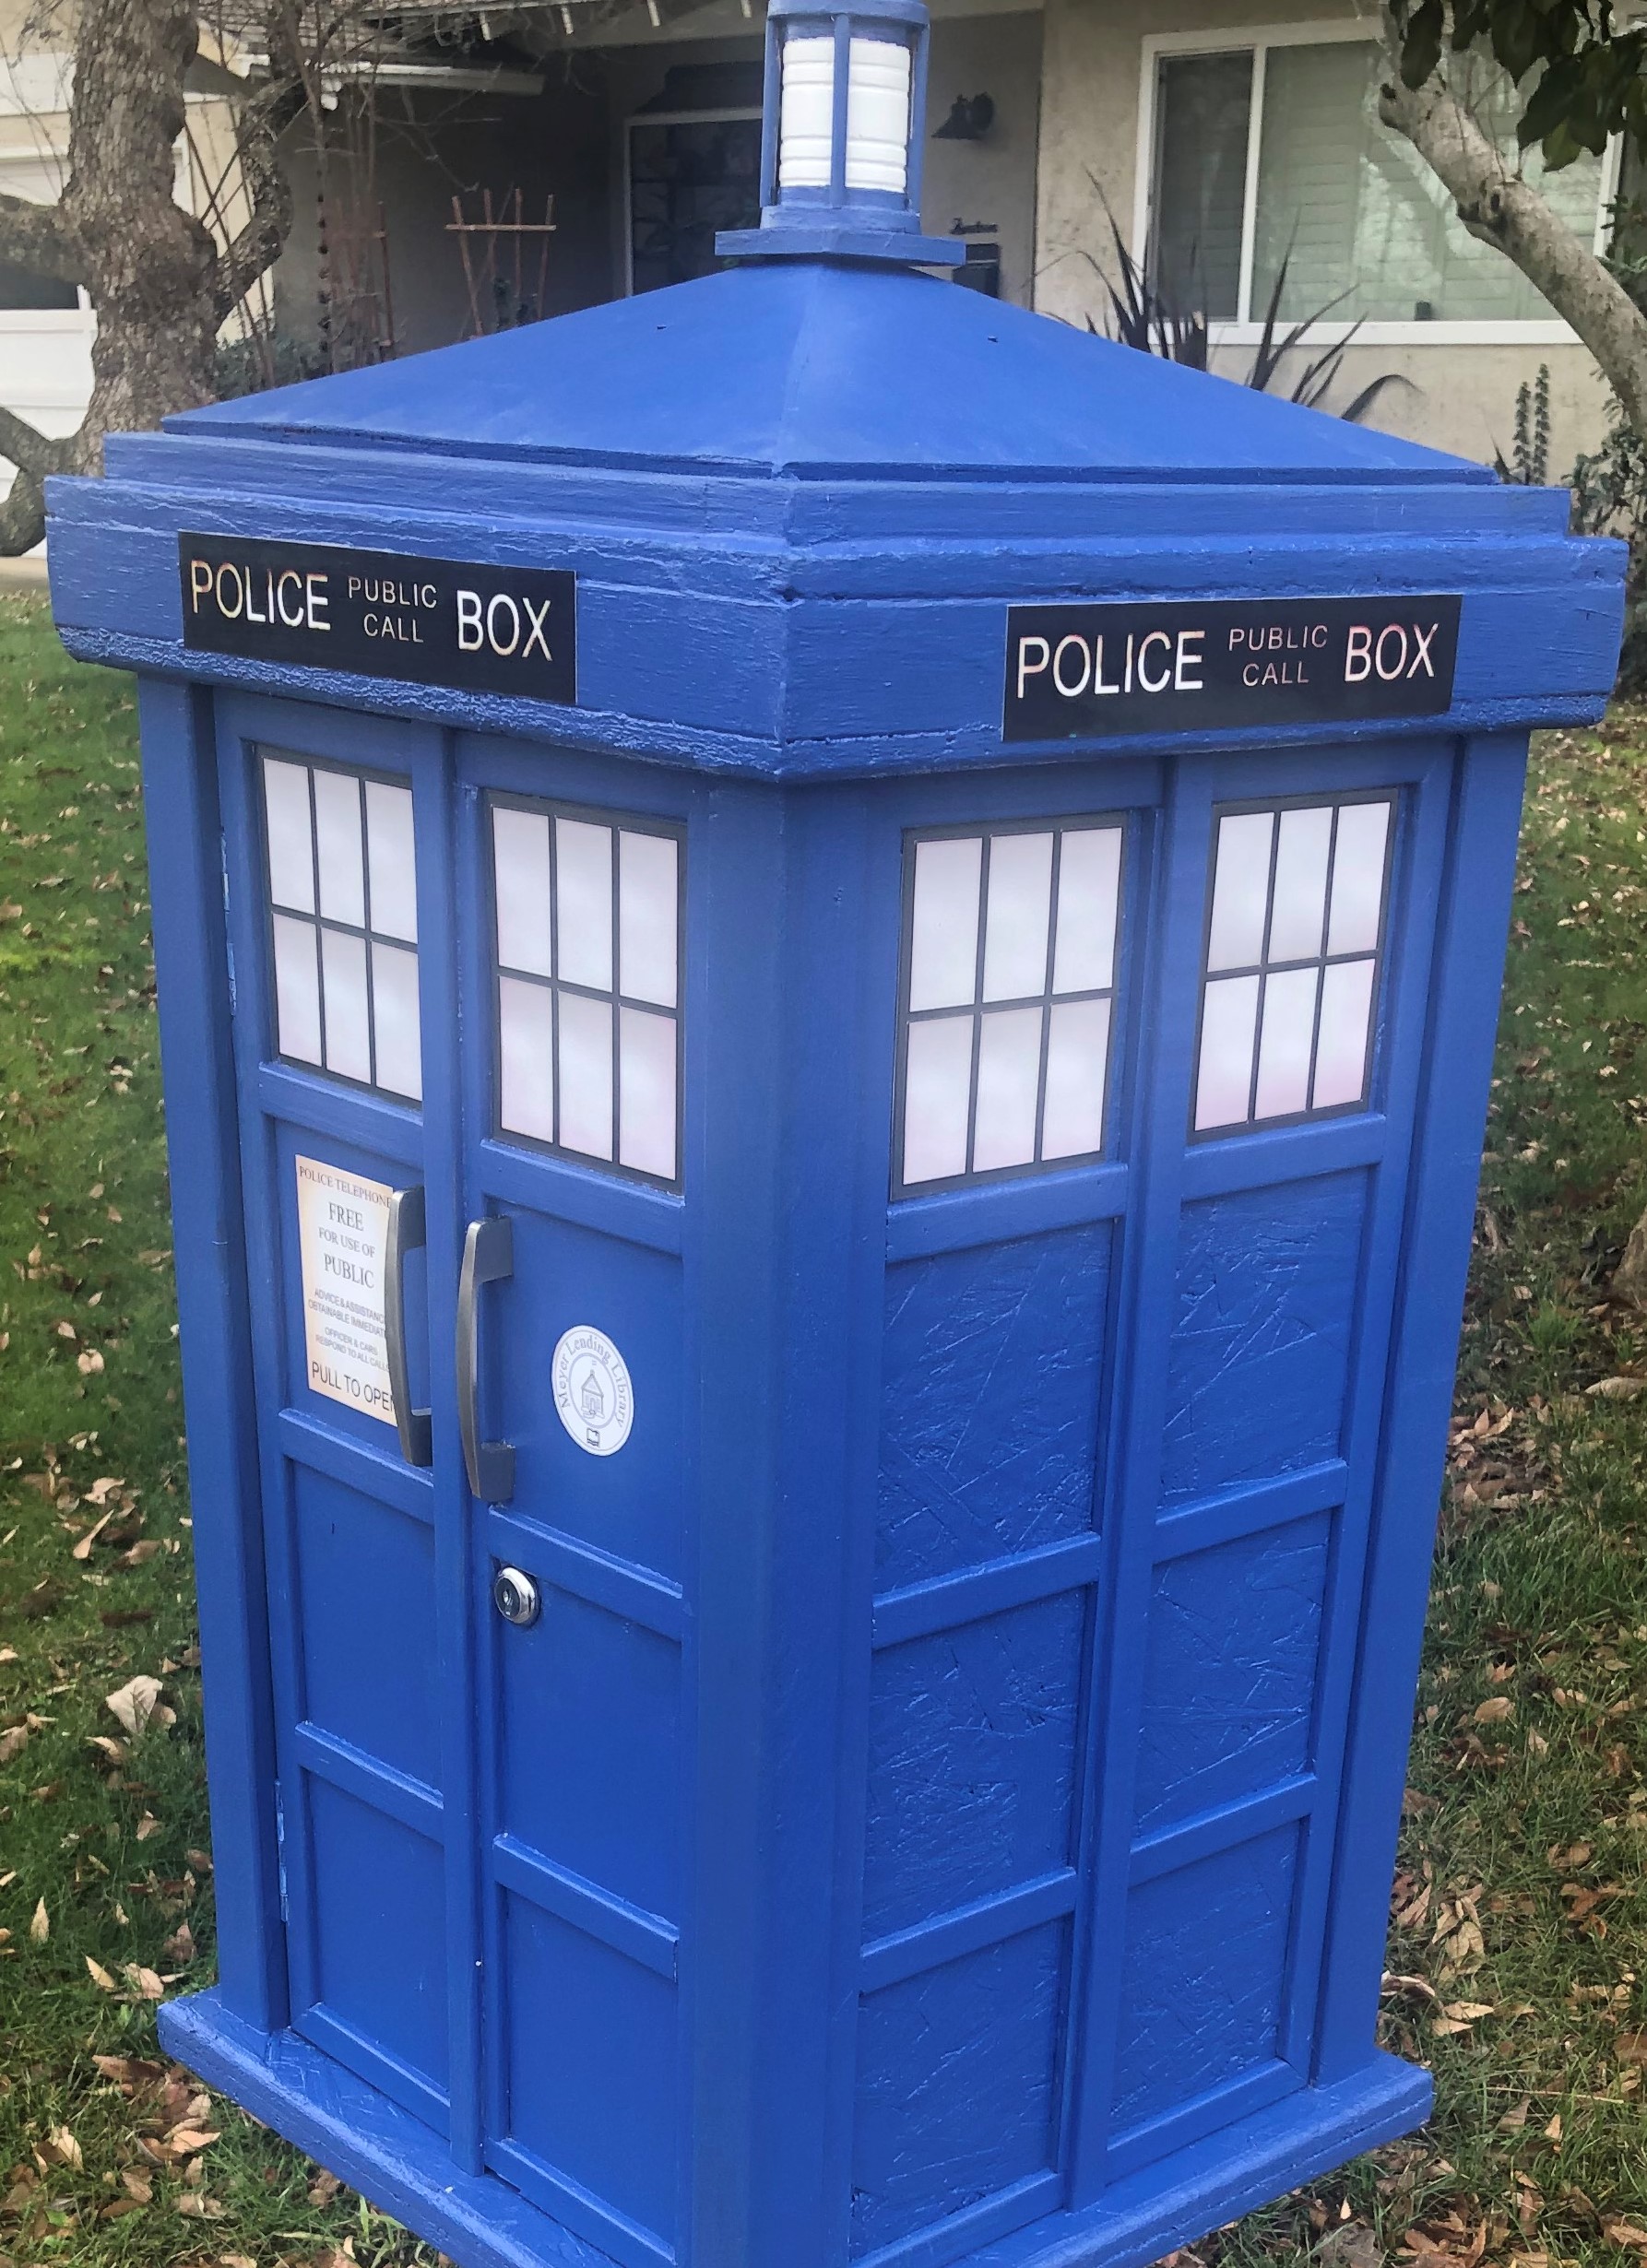
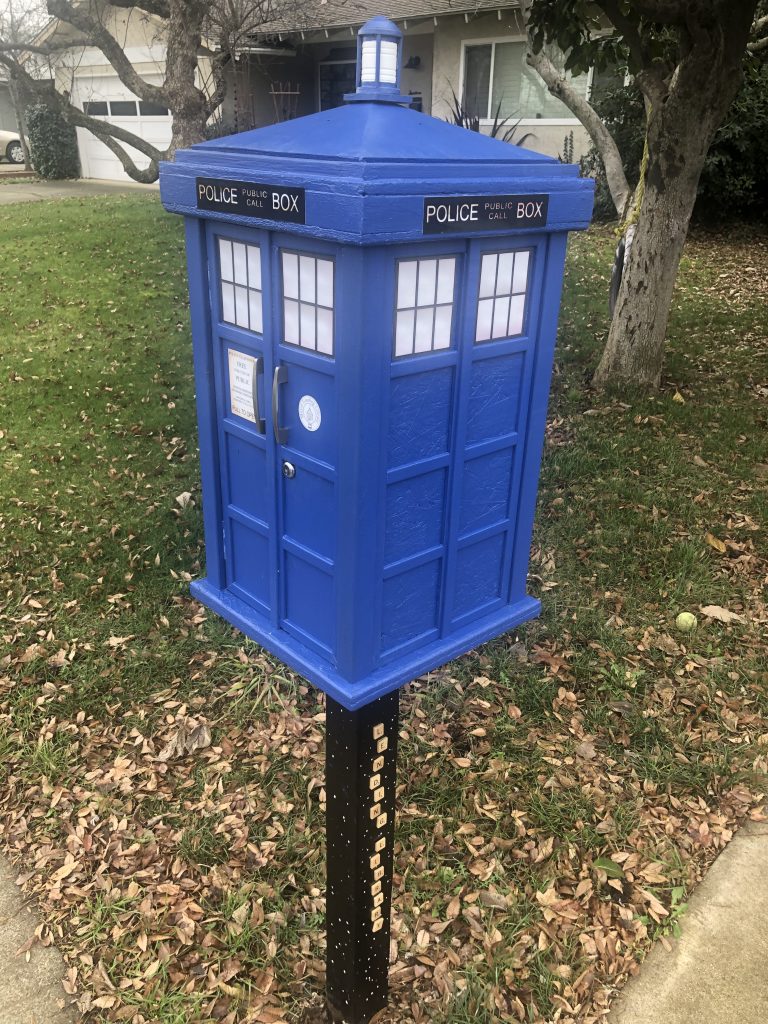
Now, I’m a big Doctor Who fan so naturally I thought about building the iconic police box time machine, and what better way to make it “bigger on the inside” than to fill it with books that could lock may worlds of different adventures.
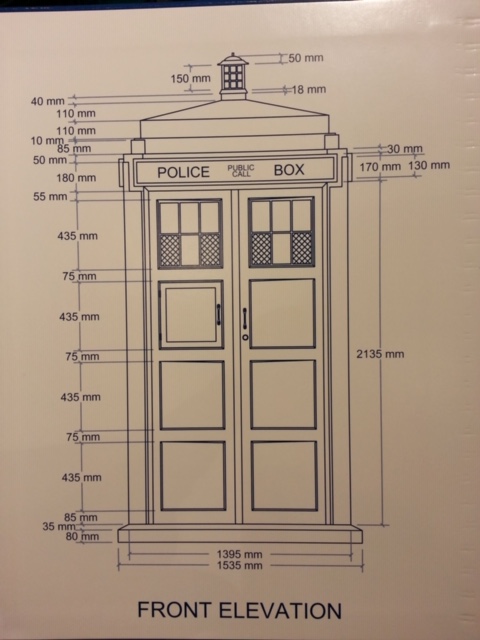
I started by coming up with a basic plan. These Blue Prints (I found on the web) would give me the measurements I needed and I could build it to scale by simply converting the measurements from metric to inches. Example. 150 MM was converted to 1.5 inches. There are conversion charts on the web for figuring out what 15.35 inches works out to be in fractions.
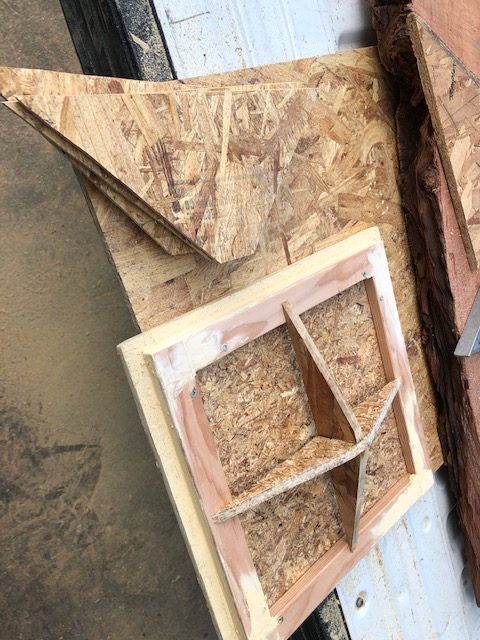
Next I drug out the extra wood I had from other projects, and my little “Tardis 21 Questions” game as a reference, and I started measuring, cutting and screwing things together.
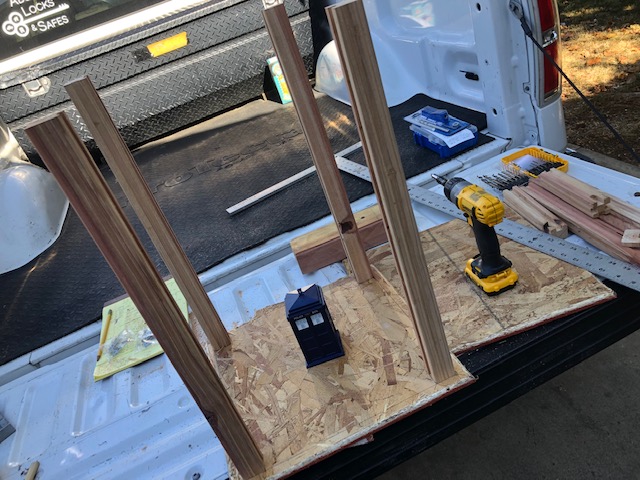
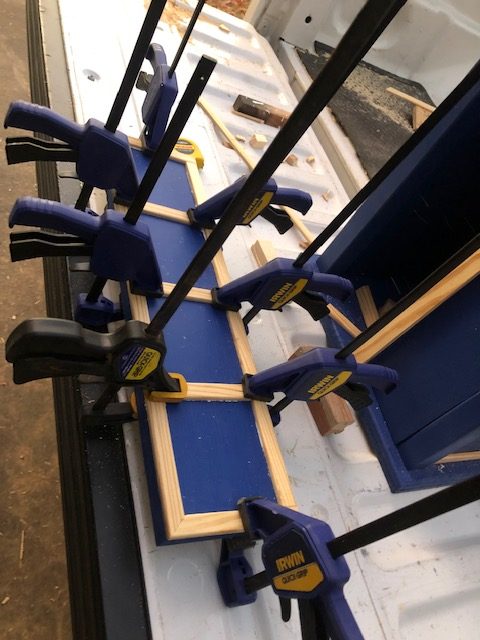
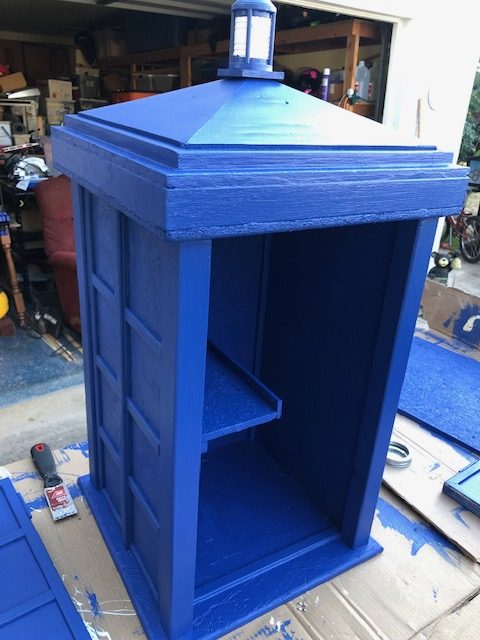
After cutting out what would become the inside top and bottom I screwed down 1×1’s on each of the 4 corners. I first used my router to mill a grove down the center of them and slid press-board planks down into the groves. This gave me the basic shape and created a sturdy frame.
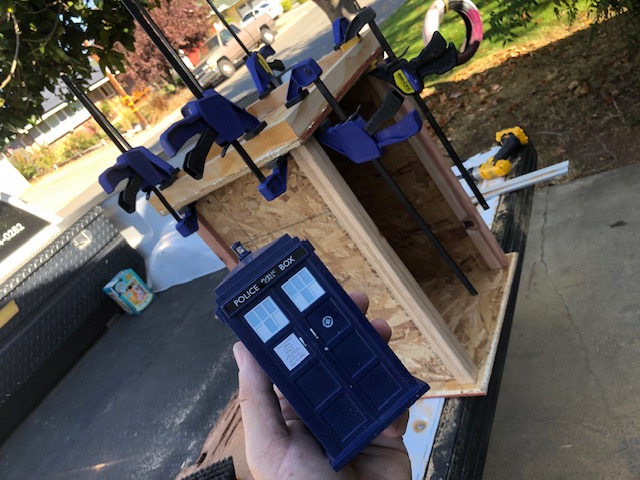
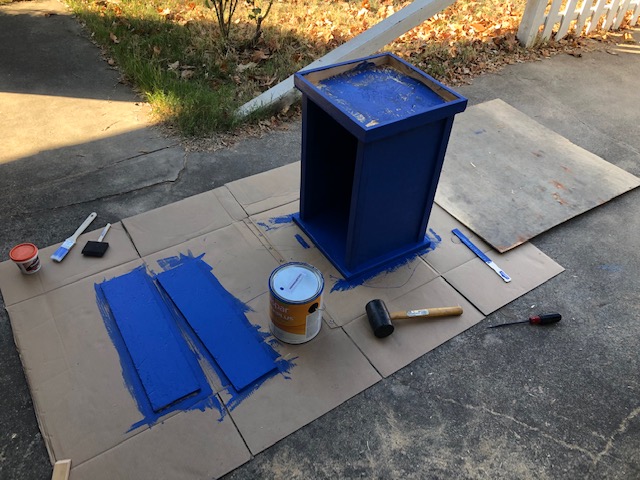
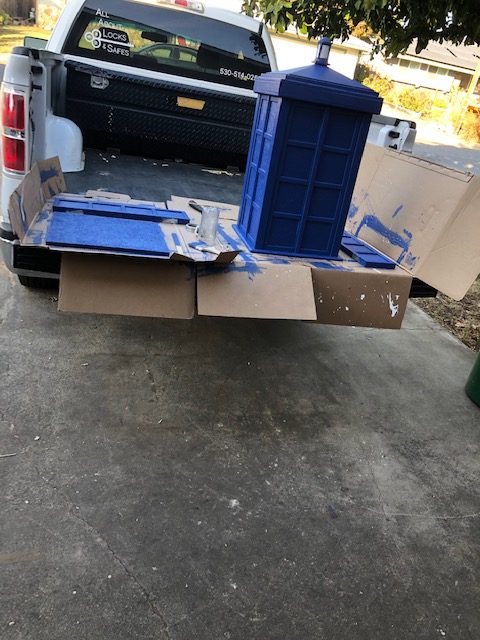
Naturally, their was a lot of gluing, clamping and painting. This was no “One day build” though I have learned a lot from Adam Savages YouTube channel of the same name. Check it out if you are into fun builds like this.
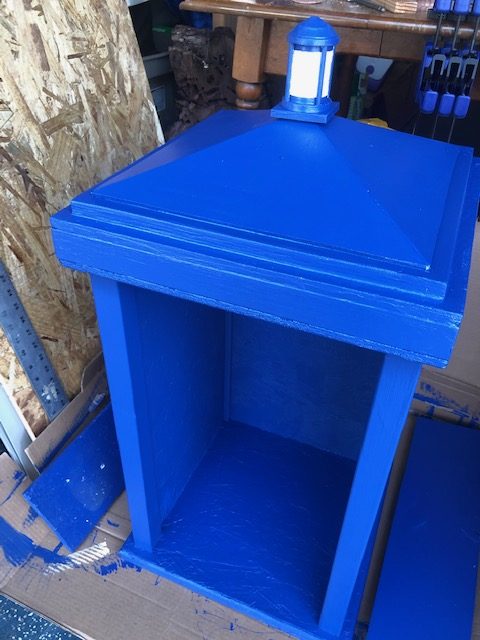
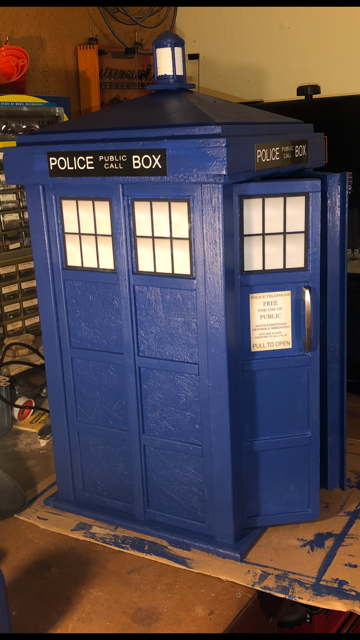
I got the paint from Lowe’s using a color code I found online that other fans had recommended. (SW 6811)
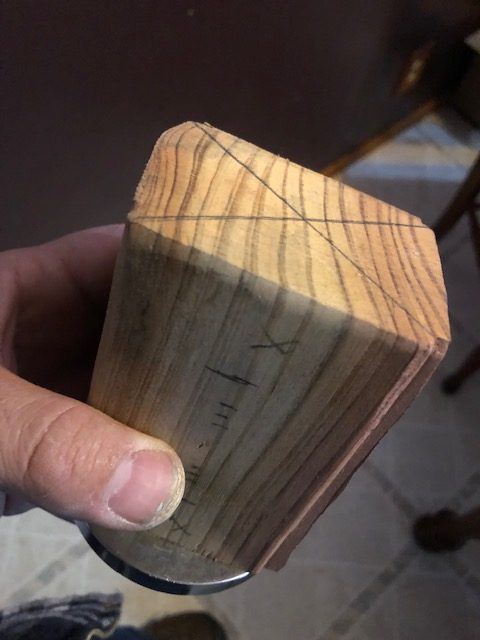
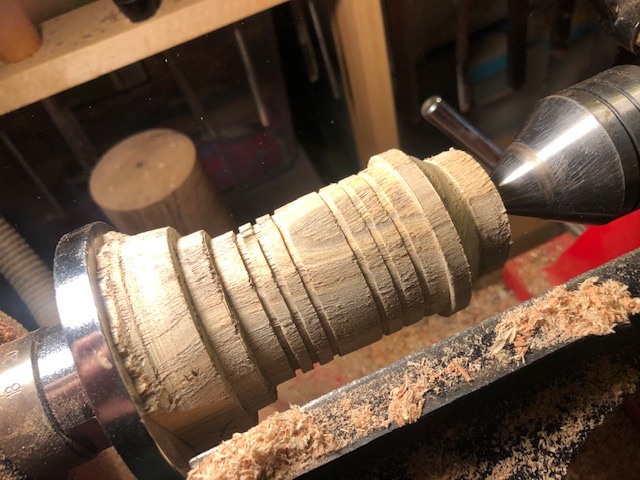
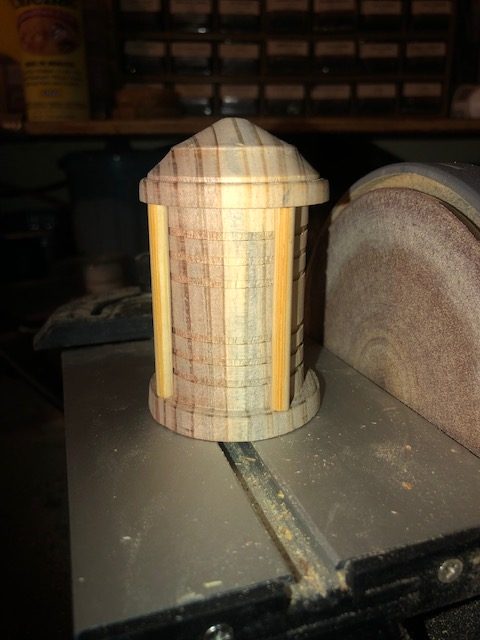
For the lantern on top, I wanted something that could light up, but I opted to used a wood lathe to turn the basic shape and I painted it bright white, implementing the K.I.S.S. method (Keep it simple stupid).
cutting and installing the trim pieces took a long time, but was a lot of fun. I used cut pieces of blocks as a jig to keep things spaced out evenly and tried to keep everything plumb and square.
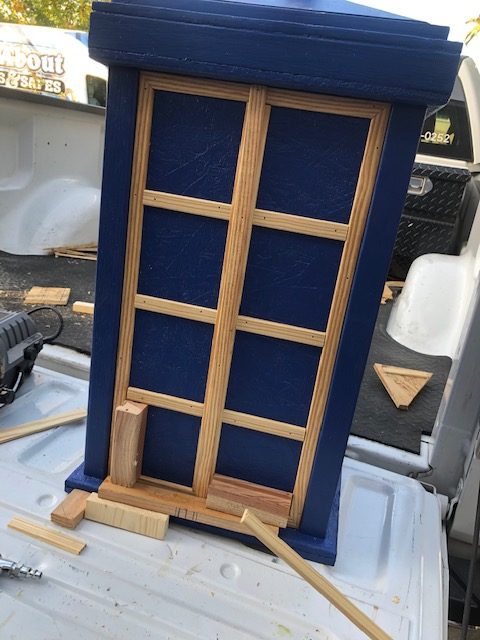
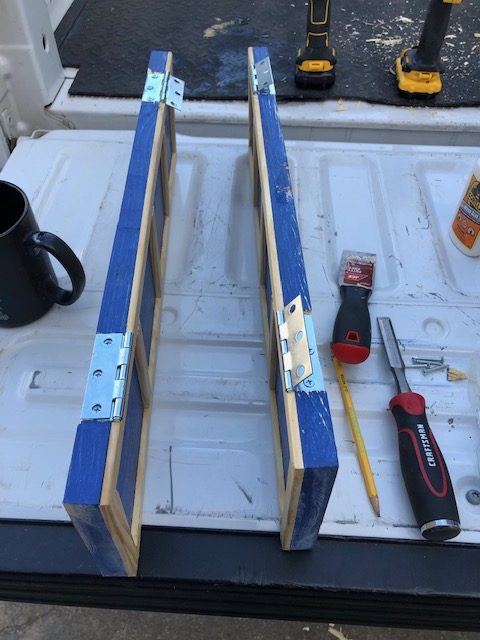
I installed hinges and than repainted everything with a second coat. I did use a small nail gun, wood putty and more glue to get the trim done a little faster.
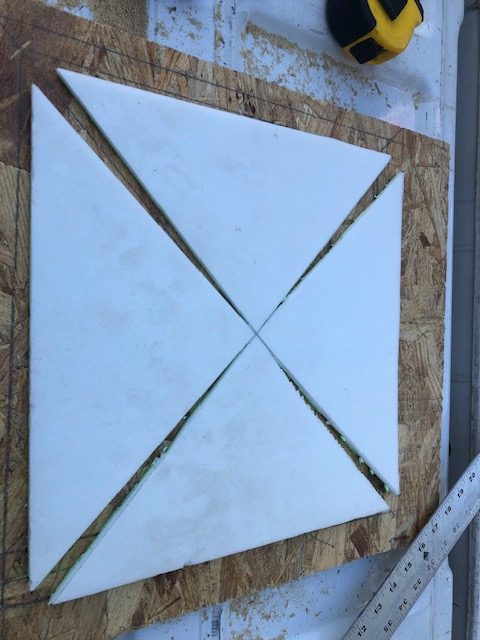
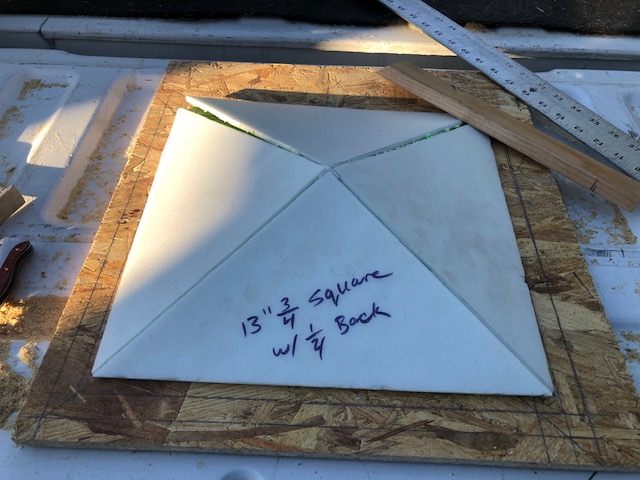
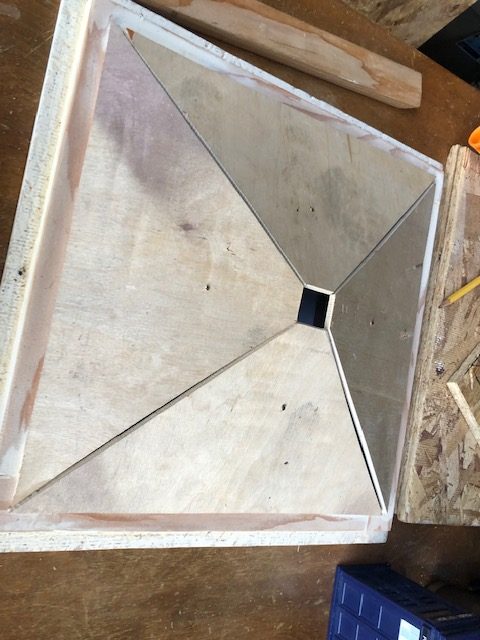
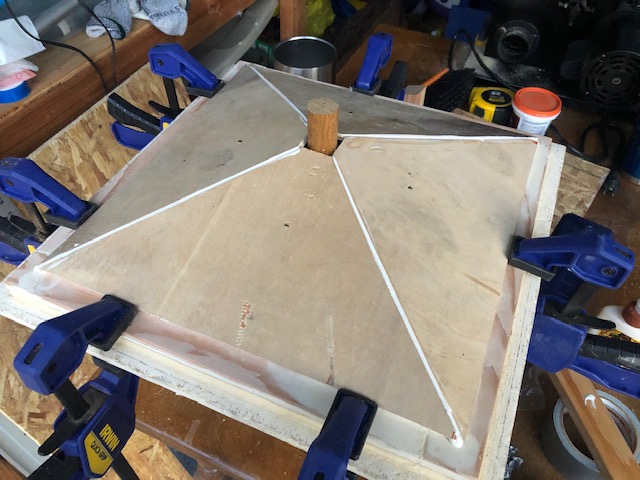
The top part was complicated to figure out. The top comes to a point. Some designs have a flat top but knowing this box would be in the rain I wanted to keep it more like my toy model so the rain would run off. I put some trim strips along the inside top and bottom to act as a door stop and also to help keep water off the books.
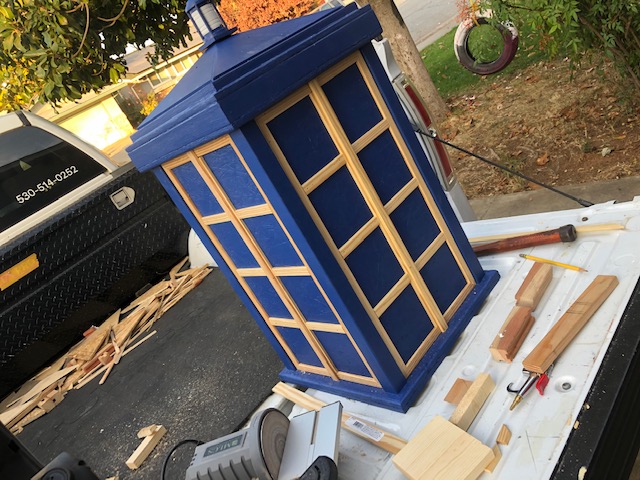
Because its a tiny library, I added a shelf so it would be more functional.
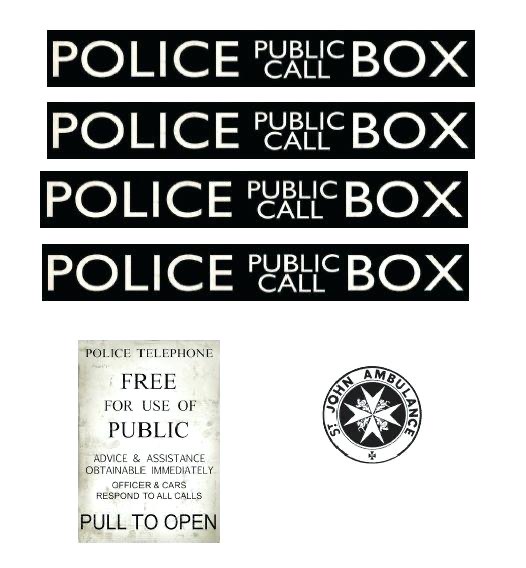
I used a printout of decals I got from a free-use website. I printed them (on photo paper), laminated them and glued them on using Hod Podge. I was lucky as they just happened to be really close to the size I needed. The link to the file is below.
Here is what the template looked like (minus the windows) after I modified it to save paper.
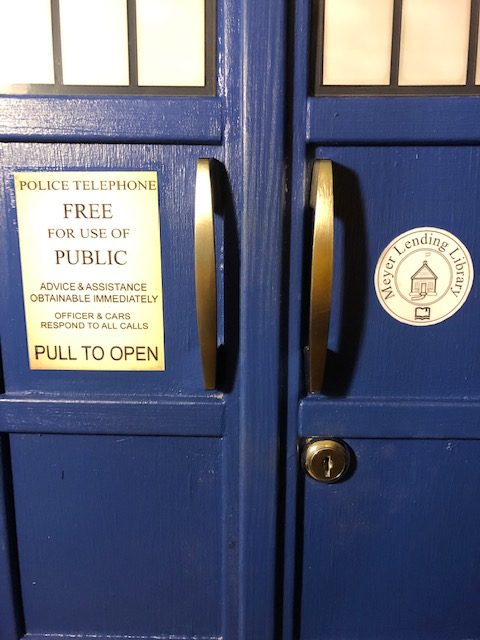
I added some handles. They are larger than scale, but I wanted them to be functional so I compromised on this size and was very happy with how they fit. I found them the cabinet section of the hardware store. It was starting to come out really nice.
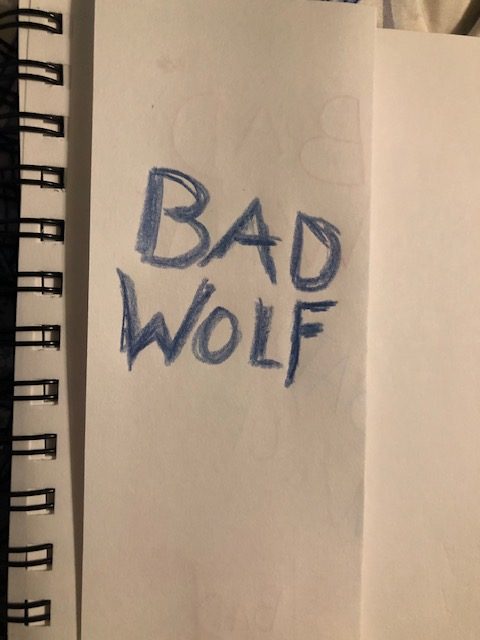
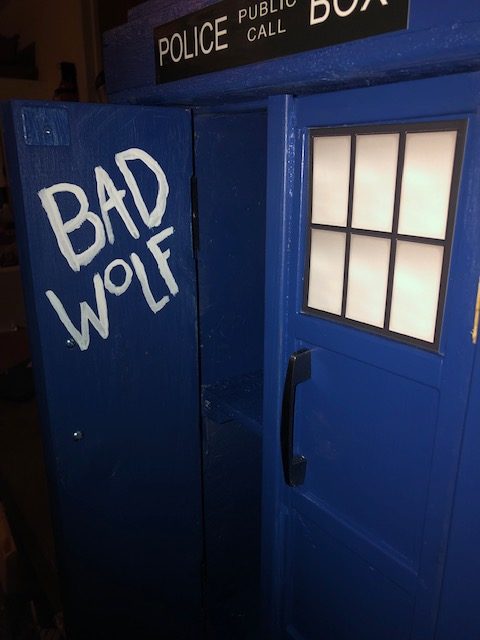
I wanted to add an Easter-egg for modern day Doctor Who fans so I practiced writing “Bad Wolf” and painted it on the inside of one of the door so it could be seen when opened.
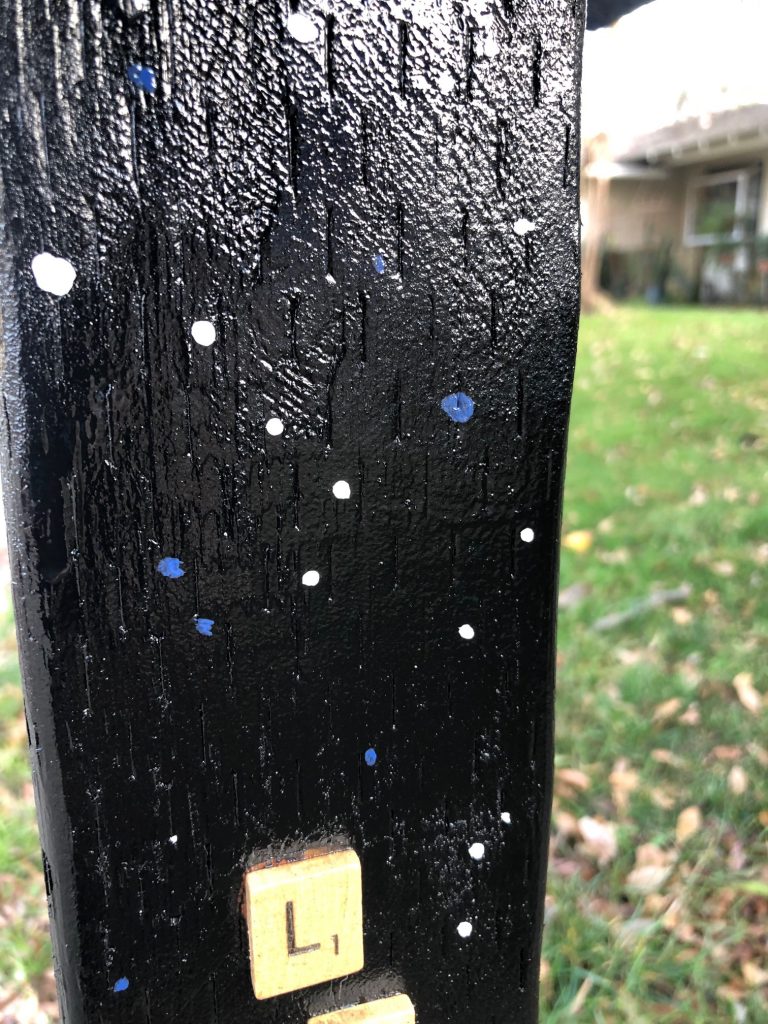
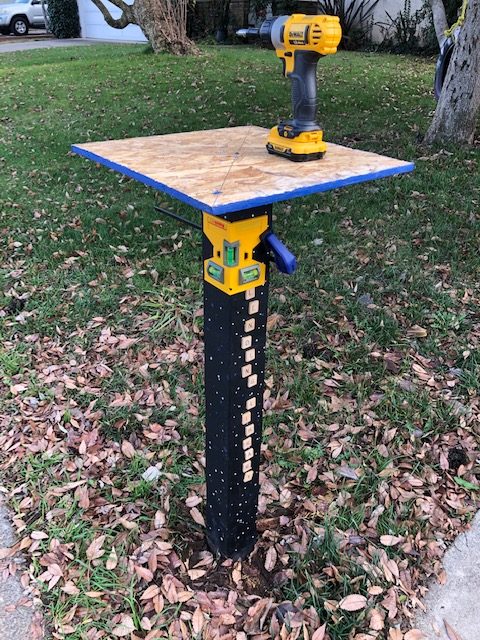
As for the pole it would rest on, I painted it black and put speckles of white and blue paint to look like the night sky, and even tried to add a few familiar constellations. (but not too many, this time machine could be anywhere!)
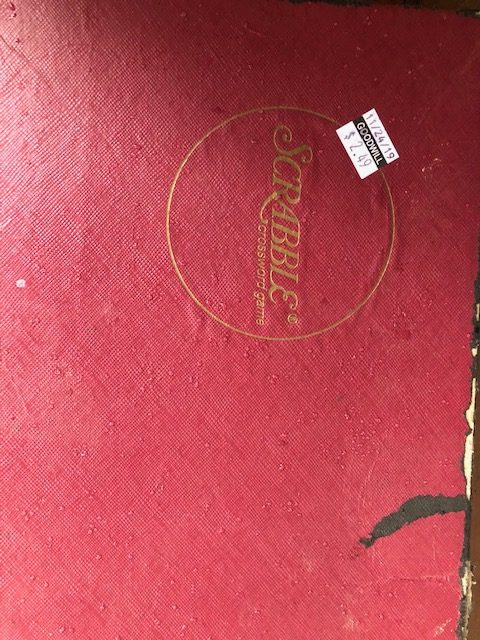
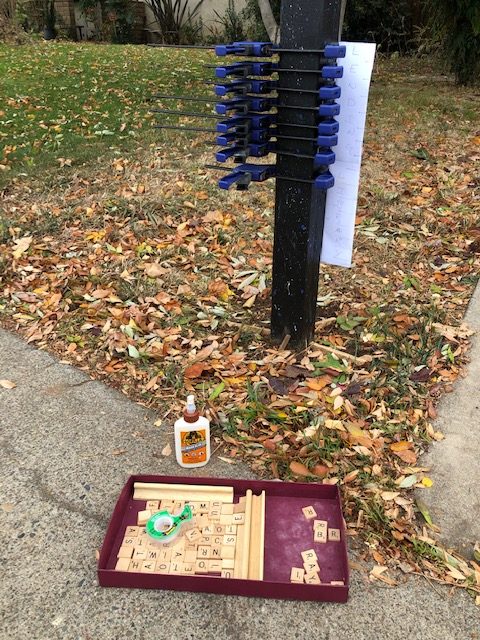
I went down to the local Goodwill (or was it the salvation army) and picked up a scrabble set. I figured they would have one, because who in their right mind would buy a opened, used board game having so many small peaces that were critical to playing the game??, and to my delight, I found a scrabble set priced under $3.
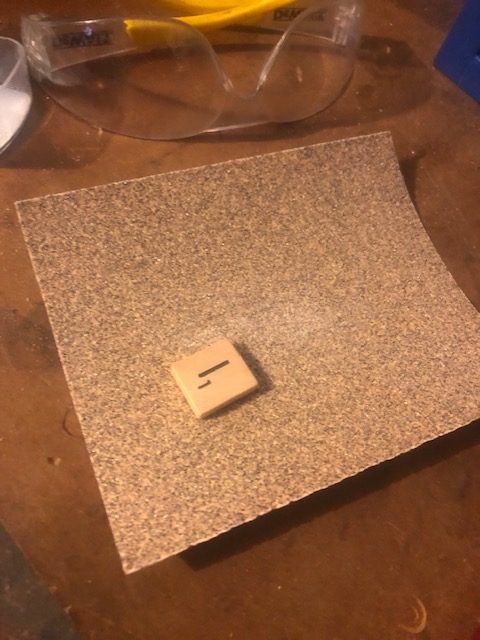
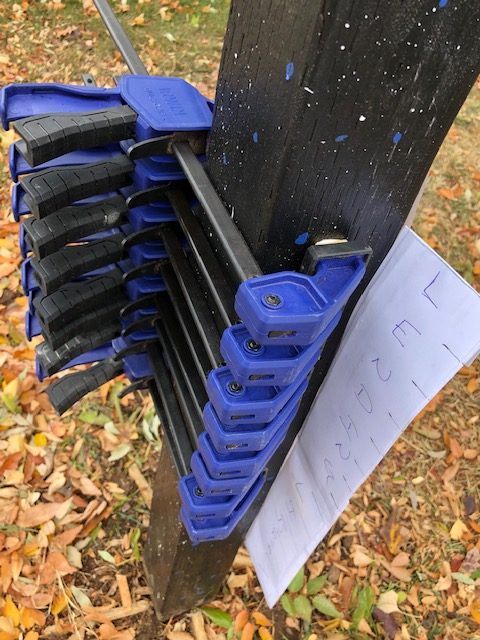
After sanding down the back of the tiles so they would glue better, I spelled out the words Lending Library in scrabble letters and glued them to the post. I used a paper template so to space out the letters evenly.
The badge on the right door needed to be updated. I didn’t’ want it to say St. John Ambulance because 1. I didn’t want to confuse people into thinking it was a first aid station, and 2. I wanted to personalize it. So I downloaded InkScape (a free opensource graphics program) and designed one I liked a lot more for this project.

Finally, I did some locksmith work and installed a cam lock. Yes, this is a functioning lock with a key, but I will be leaving it unlocked for the public to use. In the Doctor Who television show, it looks like a Yale lock, with a Y1 key-way, but for scale (and simplicity) I went with a simple cam lock.
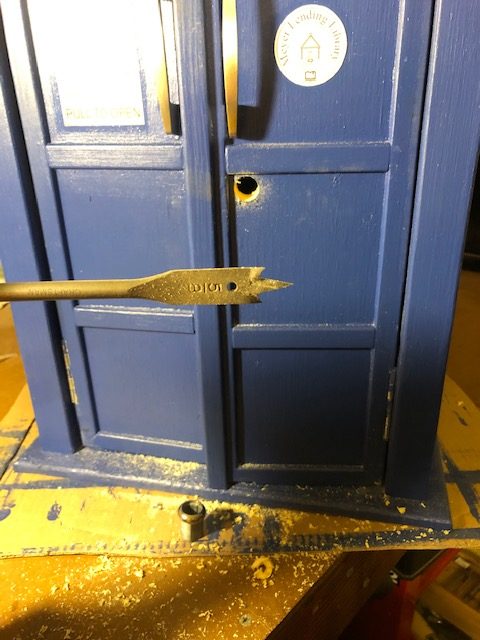
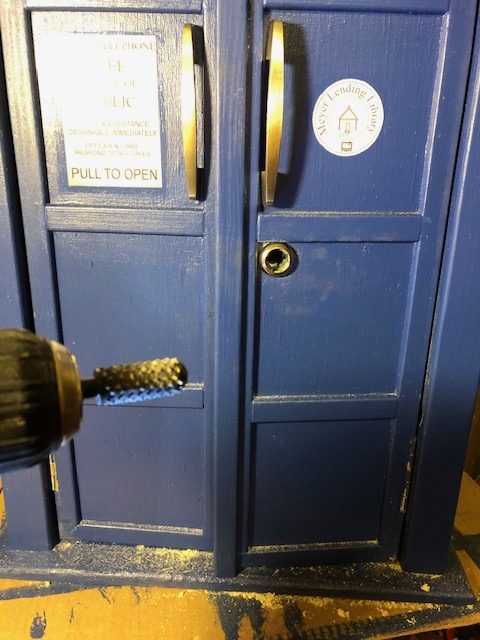
I drilled a small hole and used a rasp and a file to make the hole oblong to accommodate the shape of the lock body.
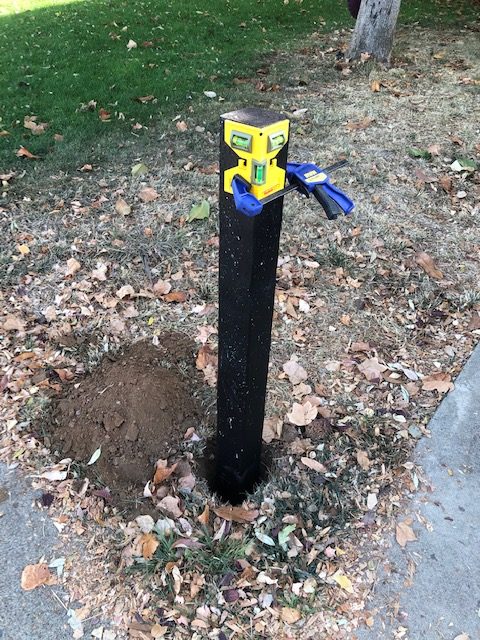
Finally, I mounted the base on the post, and mounted the TARDIS to the base and filled it with books.
I thought about making the windows actual windows so people can see the books inside, and I still might go back and cut the squares out and install plexiglass, but for now, I’m happy with my little time machine as it is.
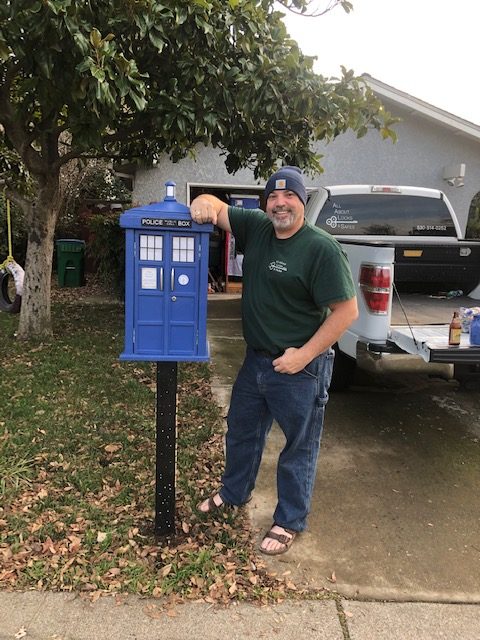
I really enjoyed this project that I worked on for about 6 months in my spare time between locksmith jobs, running kids around and navigating the holidays. I hopefully the neighborhood will enjoy it, and I hope you enjoyed reading about it also.
Happy Travels! Be safe!
Recent Comments